Steampunk · Volume 5
Materials & Finishing
Brass etching, patina chemistry, lacquer schedules, and the distinction between an ageing process you can undo and one you cannot
Finishing is the stage at which a well-made object becomes a convincing one, and it is also the stage at which a well-made object can be ruined beyond recovery. Those two facts give this volume its organising principle, which is not “how to make brass look old” but reversibility: which processes can be undone if the result is wrong, which can be partially recovered, and which are permanent. A builder who knows which category a process falls into can experiment freely in the first, cautiously in the second, and only on scrap in the third — and the commonest finishing disaster is not a bad technique but a permanent technique applied in the belief that it was a reversible one.
The processes below are grouped by material and cross-referenced to that axis, with the full reversibility summary in § 5.8. Two of them — brass etching and the catalysed lacquer schedule — are documented in detail elsewhere in the hub or in the collected material, and are treated here by summary and pointer rather than by duplication.
5.1 Preparing the metal
Every process that follows depends on the surface underneath it, and nearly every failure traces back to preparation.
Mechanical preparation establishes the surface texture: abrasive from coarse through fine, then fine steel wool or a non-woven abrasive pad for a satin surface, then progressively finer polishing compounds for a bright one. The decision to make here is what the final texture should be, because a patina over a satin surface and the same patina over a mirror polish are visibly different finishes, and the texture cannot be changed afterwards without removing the patina.
Degreasing is the step that is skipped and should not be. Fingerprints are the classic patina defect: skin oils resist the chemistry, so a part handled after cleaning comes out of the bath with pale fingerprints permanently recorded in it. Clean with a solvent degreaser, rinse, and then handle the part only by its edges or with gloves until it is in the bath.
Masking is decided here too, and Vol 6 § 6.9 makes it a safety requirement rather than an aesthetic one: every point that will carry an earth-bonding connection is masked before any chemical or coating step, because patina, lacquer, paint, and oxide are all insulators. Deciding those points while the metal is still bare is far easier than trying to recover a bonding contact through a finished surface later.
5.2 Patina chemistry on brass, copper, and bronze
A patina is a deliberately induced corrosion product. The aesthetic wants it because real age produces it, and Vol 2 § 2.2’s caution applies: it should be a considered layer over a well-made object, not a disguise for a poorly made one.
Liver of sulphur (potassium sulphide) is the standard darkening agent for copper alloys, producing browns through to near-black depending on concentration, temperature, and immersion time. It works quickly and it works in a bath or by brushing, which makes it controllable. It is the workhorse.
Ammonia fuming produces the blue-greens of verdigris rather than the browns. The part is suspended in a closed container over ammonia — not immersed — sometimes with salt applied to the surface to accelerate and texture the result. It is slow, it is strongly dependent on humidity and time, and the result is a powdery corrosion layer rather than a hard one, which matters for § 5.5.
Gun blue is a steel blackening product and belongs on the steel parts, on blued fasteners, and — its signature application — in the recessed field of an etched brass plate (§ 5.4).
Natural patination is the honest option: leave bright metal exposed and handled and it will do this on its own over months and years, unevenly and in exactly the places a hand touches. It is the only method that produces genuinely correct wear patterns, because it is produced by genuine wear. It is also the only one that requires no chemistry, no ventilation, and no disposal.
Handling, in all cases. These are chemicals with real hazards: work with ventilation, with eye protection and gloves, over a surface that staining will not ruin, and follow each product’s own cautions. This is bench chemistry safety, separate from the clock’s electrical safety, and it earns its mention because both happen at the same bench.
5.3 Selective polishing — the rubbed-through finish
The single technique that most distinguishes a convincing aged finish from a uniformly dark one, and it is almost trivially simple: darken the whole part, then polish the high points back to bright.
The result imitates what actually happens to a handled object — the recesses hold the tarnish, the raised surfaces and the edges are rubbed clean by use — and it produces the highlight-and-shadow contrast that makes form readable. A uniformly blackened part, by contrast, loses its shape.
Two notes. Polish with something that will not cut through to bare metal everywhere: a fine compound on a cloth, or very fine abrasive paper used lightly. And remember that this is the step where the work becomes convincing rather than merely dark, so it deserves more time than the darkening did.
5.4 Etched and engraved plates
The maker’s plate is the detail that most finishes an instrument-style clock, and there are three routes to it.
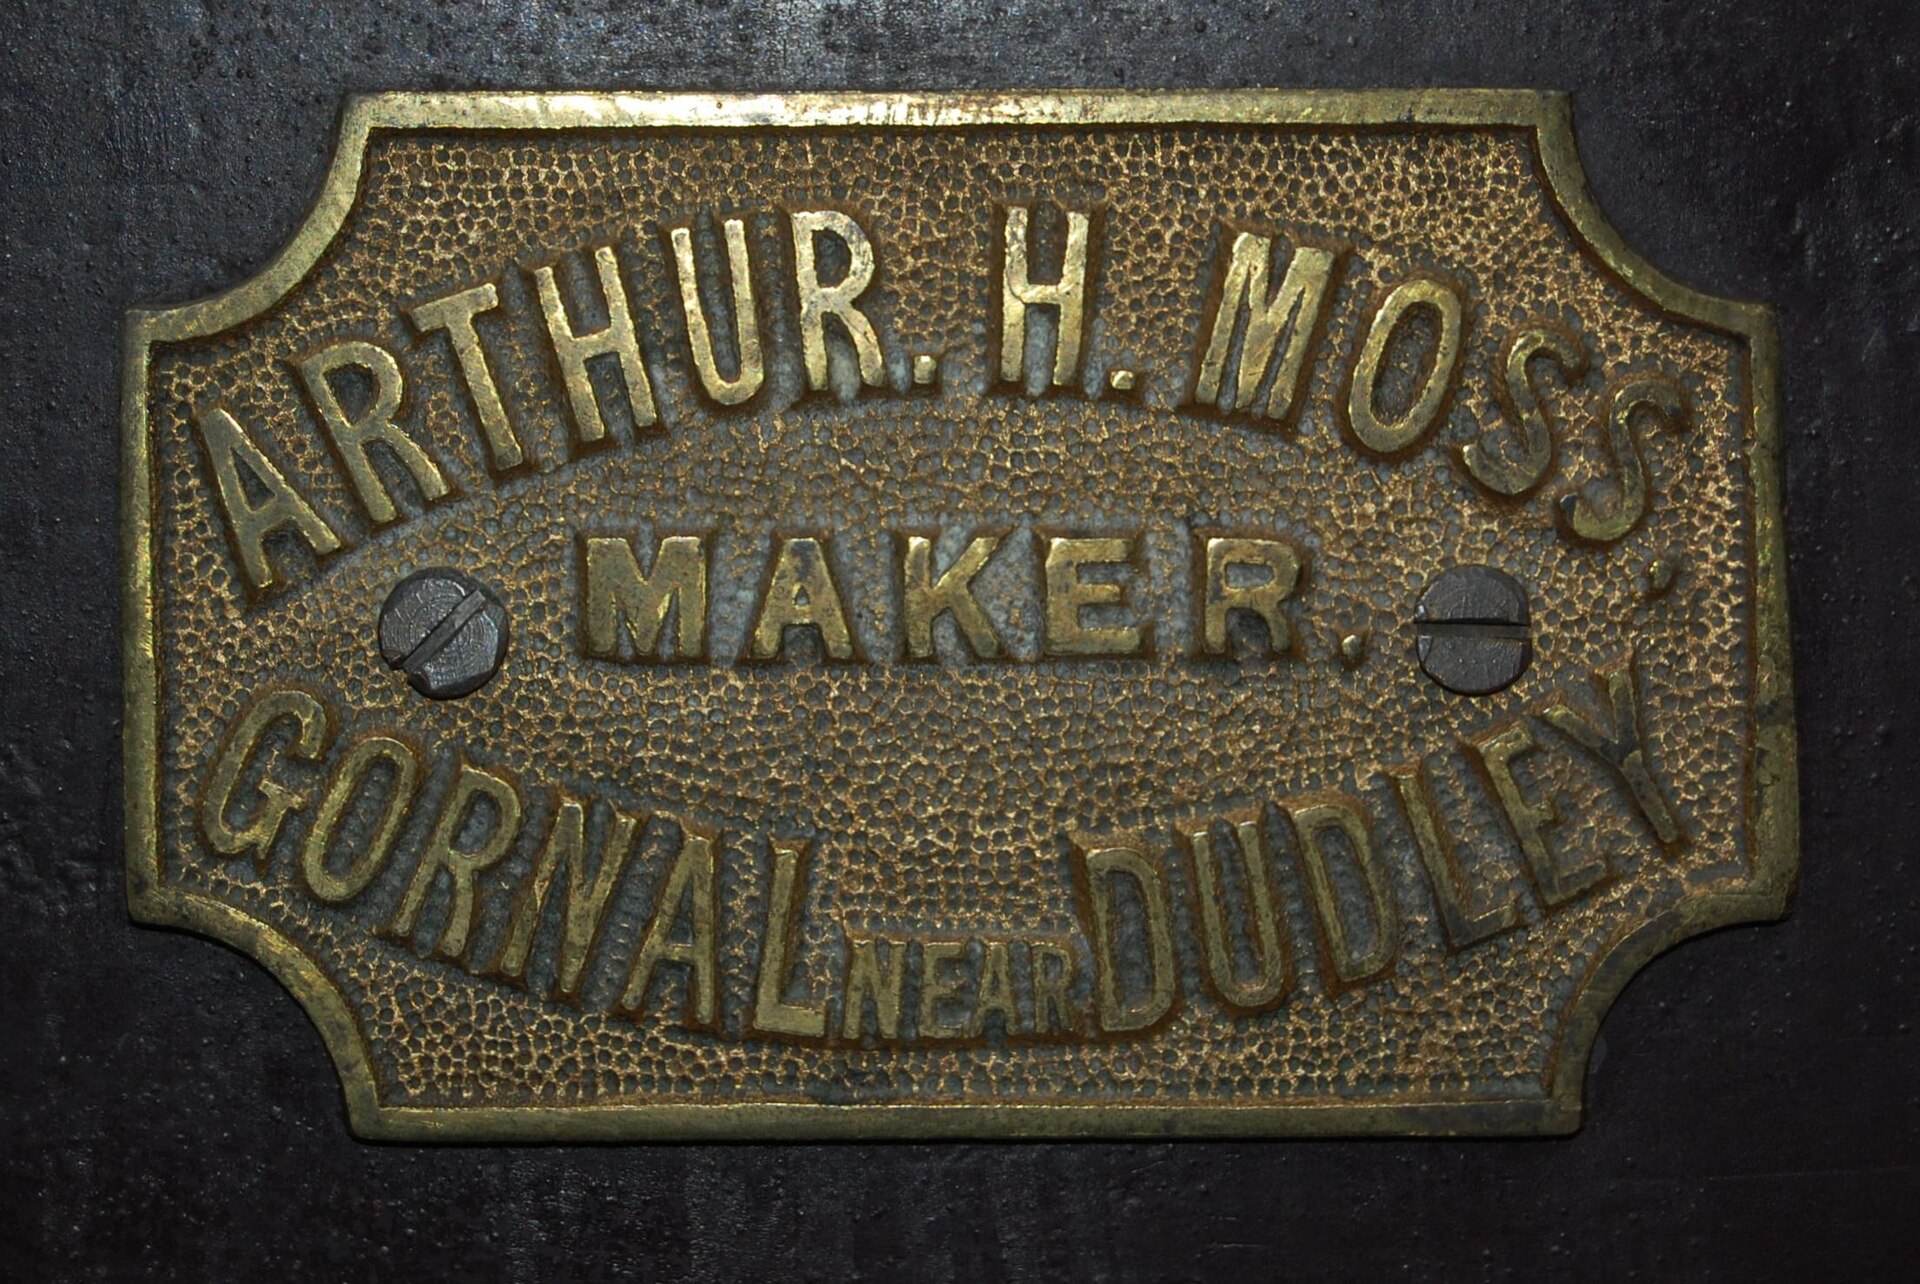
Chemical etching by toner transfer is the traditional hobby route and produces the most authentic result: laser-printed mirrored artwork is heat-transferred onto cleaned brass as an etch resist, the plate is immersed in ferric chloride until the unmasked field is eaten away to leave the lettering raised, and the recessed field is then gun- blued or painted while the raised letters are polished bright and the whole clear-coated. This process is documented step by step, with materials, timings, temperatures, and depths, in the Scope/CRT series’ Vol 11, from a hobby magazine article held in that subproject’s inputs; it is not reproduced here. Two points belong with it regardless of where it is read: ferric chloride is strongly acidic, demanding eye protection, gloves, and a work area where staining does not matter; and deliberate thin spots and nicks in the resist produce an authentically worn plate rather than a flaw.
Laser engraving is the modern equivalent and is faster, more repeatable, and capable of finer detail. Engraved-and-filled lettering on metal, or two-colour laminate for panel legends, gives a crisp result. It reads slightly too crisp for a genuinely period look, which selective ageing afterwards can soften.
Rub-down dry-transfer lettering sealed under clear coat is the third route and is the most convincing for mid-century instrument panels specifically, where the original would have been printed rather than engraved.
Whichever route, seal the finished plate — and keep the sealant off the bonding contacts of § 5.1.
5.5 Lacquers, clear coats, and waxes
A clear coat does two jobs: it protects the finish underneath, and it unifies the sheen across dissimilar materials. It is also the layer that decides whether the object still looks right in five years.
On metal, a clear lacquer over polished or patinated brass stops the patina progressing and stops a polished surface tarnishing. This is worth stating plainly because it surprises people: a lacquered patina is frozen, which is usually what is wanted, while an unlacquered one keeps developing. Note the interaction with § 5.2 — ammonia-fumed verdigris is a powdery layer, and clear-coating over it can darken it markedly or lift it, so it is worth testing on scrap.
Wax is the reversible alternative: it protects, it can be buffed to a range of sheens, it can be removed with solvent, and it can be reapplied. For a part that might need a bonding contact recovered, or a finish that might need revisiting, wax is the safer choice.
On wood, the collected lantern build documents an unusually complete and unusually demanding schedule, and it is worth reproducing because it explains the glassy finish on that object:
- One to two coats brushed catalysed clear lacquer, applied heavily enough to soak into the wood, and left to harden.
- Sand, thoroughly, dry, between every coat.
- Spray, sand, spray, sand, spray, sand, spray, sand — five or six coats in total, applied with an HVLP gun, never heavily enough to run.
- Polish and buff, working through automotive polishes of decreasing grit, by hand and by machine.
Abrasives ran from 400 through 1500 grit. Two cautions are recorded with it, both learned the hard way: do not sand through the clear coat — if bare wood appears, the schedule has gone too far and the coats must be rebuilt — and do not let drops or thick spots harden, because they must then be sanded flat through the whole film. The builder’s own summary was that it took days and that the result is proportional to the effort. That is an honest description of what a furniture-grade finish costs.
Work with ventilation. Catalysed lacquer is a solvent finish and its vapour is not trivial.
5.6 Wood colour and grain
Before the clear coat there is the question of colour, and the aesthetic generally wants darker and warmer than the raw stock.
Oil finishes penetrate, deepen the grain, and are easily renewed — the most forgiving option and fully compatible with the contrast-lamination approach of Vol 4 § 4.3.3. Stains shift the colour but can muddy figure and are difficult to reverse once the wood has absorbed them. Dyes are more transparent than stains and keep more of the grain visible. Fuming and chemical darkening exist and are genuinely period, but they are species-dependent and firmly in the irreversible category.
The one rule worth stating: test on offcuts from the same board. Species, board, and even the face of a board all change how a colour takes, and the offcut test costs nothing at the point where it is still possible.
5.7 Distressing, and the argument against it
Physical distressing — denting, scratching, rounding edges, simulating wear — is the most tempting and the least reliable technique in the volume, for a reason worth naming.
Real wear is not random. It is concentrated exactly where a hand grips, where a lid rubs, where a foot drags, where a screwdriver has slipped off a screw head a hundred times. It is absent everywhere else. Distressing applied evenly or decoratively reads as what it is, and it reads that way immediately.
The defensible version is targeted: round the edges a hand actually holds, wear the finish where a lid actually rubs, mark the slot of the screw that is actually turned. Everything else is better left alone and allowed to happen. And it is unambiguously irreversible — a dent is permanent — so it belongs at the very end of the sequence, after the object has been lived with long enough to know where it is handled.
5.8 The reversibility table
The summary the whole volume is organised around.
Table 1 — 5.8 The reversibility table
| Process | Reversible? | Notes |
|---|---|---|
| Wax | Yes | Removes with solvent; reapply freely |
| Mechanical polishing | Yes | Within the material’s thickness |
| Liver-of-sulphur patina | Mostly | Polishes or strips off; leaves the prepared texture |
| Gun blue | Mostly | Removable by abrasive; may leave a shadow |
| Clear lacquer on metal | Mostly | Strips with the right solvent; the patina beneath may not survive |
| Ammonia-fumed verdigris | Partly | Powdery layer; removable, but the etched surface beneath is altered |
| Oil finish on wood | Partly | Can be sanded back; penetrates a little |
| Catalysed lacquer on wood | Partly | Sandable back with effort; risk of cutting into the wood |
| Dye on wood | No, in practice | Penetrates; sanding removes wood, not just colour |
| Stain on wood | No | Penetrates deeply |
| Chemical etching | No | Material is removed |
| Laser engraving | No | Material is removed |
| Physical distressing | No | A dent is permanent |
| Drilling and cutting | No | The reason Vol 4 comes first |
The practical sequence that falls out of it: do the irreversible things first, while the part is still cheap to remake, and the reversible things last, where they can be adjusted. The one exception is distressing, which is irreversible but must come last because it depends on knowing how the object is handled.
5.9 A worked finishing order
For a hardwood-plinth build with brass fittings, the order that avoids every conflict above:
- Complete all machining, drilling, and fitting. Trial-assemble the whole object.
- Decide and mask the earth-bonding points on every metal part (§ 5.1, Vol 6 § 6.9).
- Etch or engrave the plates and legends while the metal is flat and unassembled.
- Prepare metal surfaces to their final texture; degrease; handle by edges only.
- Patinate the metal; rinse and neutralise per the product; dry thoroughly.
- Selectively polish the high points (§ 5.3).
- Clear-coat or wax the metal, keeping every masked contact clear.
- Colour the wood, testing on offcuts first.
- Run the wood lacquer schedule (§ 5.5) to completion, including the polish and buff.
- Assemble. Measure bonding continuity from every touchable metal part (Vol 6 § 6.9).
- Live with the object. Distress only what turns out to be handled, if at all.
5.10 References (Vol 5)
Lantern-Clock.pdf,02-inputs/— the catalysed clear lacquer schedule of § 5.5: one to two brushed coats soaked in, then five or six sprayed coats with thorough dry sanding between each, 400 to 1500 grit, finished with hand and machine buffing through automotive polishes, applied with an HVLP gun; with the builder’s cautions not to sand through to wood and not to let drops harden.- Scope/CRT Vol 11 § 11.3.2 (Etched brass nameplates) — the full toner-transfer and ferric-chloride process summarised in § 5.4, with materials, timings, temperatures, and etch depths, from the hobby magazine article held in that subproject’s inputs.
- Nixie Vol 9 § 9.4 — the nixie-specific statement of the same patina and clear-coat material, including the insulating-finish caveat that Vol 6 § 6.9 here generalises.
- Steampunk reference gallery,
02-inputs/reference_gallery/finishing_patina/— the metal-finish and patina swatch charts that are the genuinely useful photographic material in that theme; note the provenance caveat of Vol 1 § 1.3.1, which applies to that folder with particular force. - Vol 6 § 6.9 of this series — the masking and continuity-measurement requirements that every process in this volume must accommodate.
- Figure photograph credits are recorded verbatim in
photo_credits.txt.
Comments (0)